Remote Access for Windows 7, 8, 10
Connecting to a remote desktop is one way to connect to another computer from afar. It is also useful for getting files from or working on your own machines. You can pretend that you are standing in front of any given machine, assuming it has Remote Desktop Connections enabled.
You require three things:
- An internet connection
- A remote desktop client
- A remote desktop server
If you have all these, you’re ready to get started. Here are the steps involved:
1. Get Ready
2. Accept Remote Connections
3. Set Up a Connection
4. Log In
Get Ready
Your Internet connection is important. If you are at a coffee shop or somewhere else that requires you to log in, do that first. Make sure you can access Google, Amazon, or another site before connecting. If you would not be comfortable making an Amazon purchase on your current connection, you should find a different Internet access point.
Remote desktop clients are found on most Windows builds. In Windows 10, you can type “remote desktop” into the search/run/ Cortana bar, and select “Remote Desktop Connection”.
(Alternatively, you can set up the “Remote Desktop Manager Free” client from the Internet.)
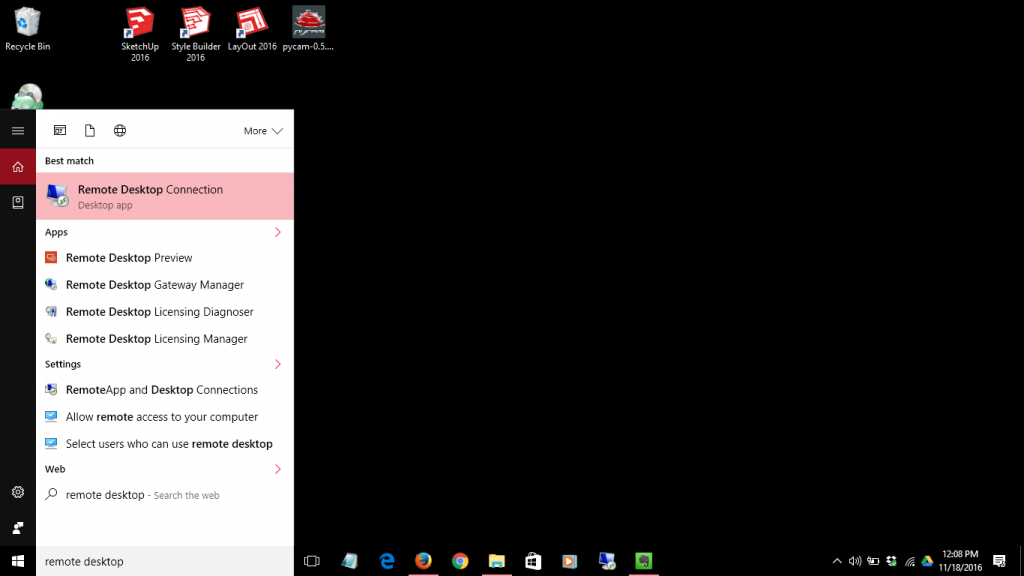
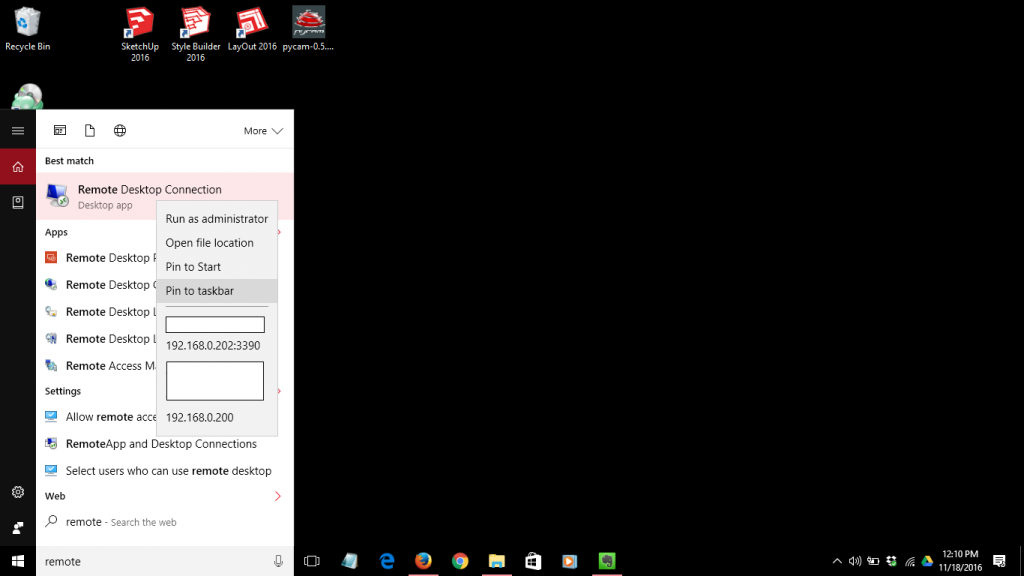
It is convenient to pin RDC (Remote Desktop Connection) to the Taskbar, especially if you will be using it often.
Accept Remote Connections
You will also have to set up your host machine to accept remote desktop connections. This is only available in the Pro versions of Windows. (If you have the Home version, it simply will not work. Busix can assist with the upgrade as required.)
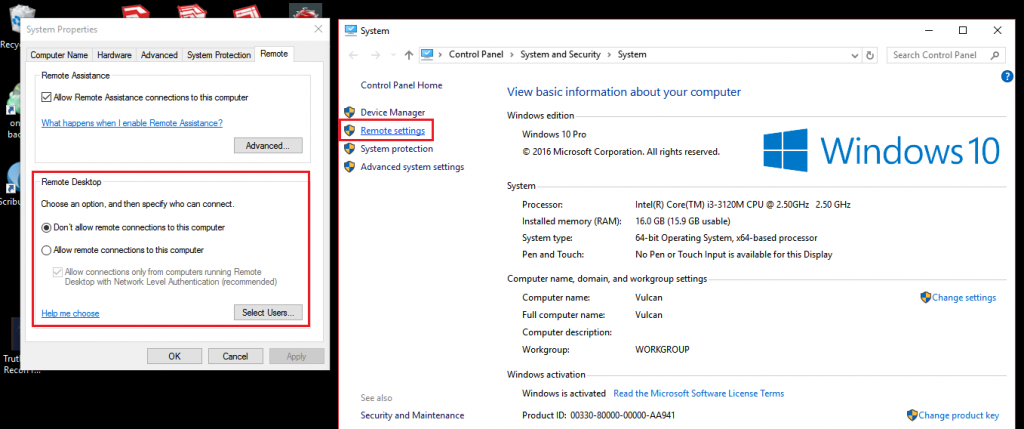
To allow remote connections, right-click on the Windows Icon in the bottom left of your screen, and choose “System”. On the left, pick “Remote Settings” and then look at the bottom pane that pops up. Choose “Allow remote connections to this computer”. Note that this is completely different from allowing remote assistance connections. If you do not have the bottom pane on your host computer, then you will not be able to use it to host a remote desktop session.
You may get a warning about your sleep settings. If your computer is asleep or in hibernation, you will not be able to use it as a remote host.

If that is the case, go into the Power settings (Windows/Start button > Settings > System > Power & sleep) and make sure your computer is set to “never sleep”. The displays can turn off at any time.
Do not select the Network-Level Authentication unless you are using the same name and password to log in everywhere. If you are using your home laptop to connect to your work computer, leave it blank.
Set Up a Connection
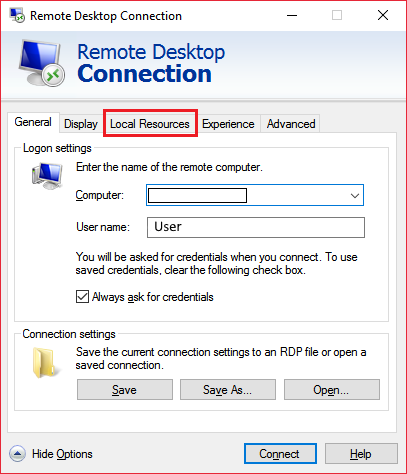
To start a connection, click the newly-pinned icon or otherwise launch the Remote Desktop Connection. You will see a screen like this:
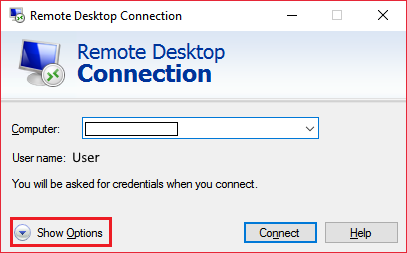
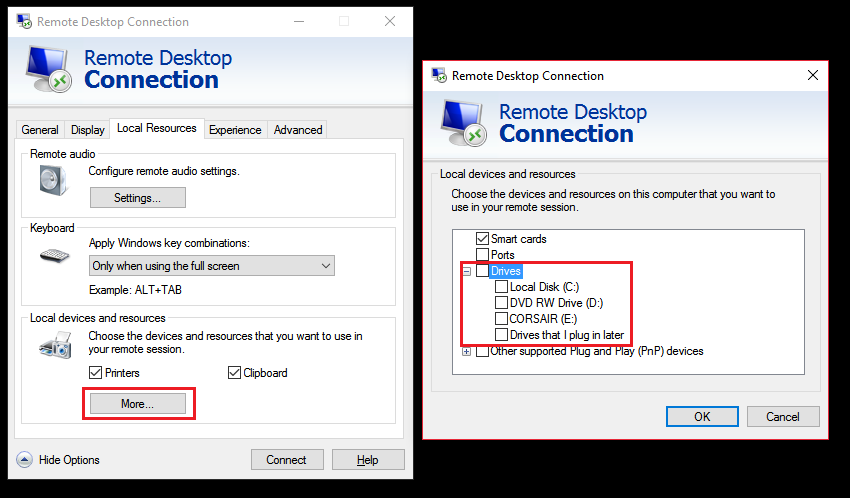
You can specify credentials or pick local resources through the “more options” button.
One very useful tool is selecting local drives. This will allow you to copy files between your remote computer and your local machine.
Log In
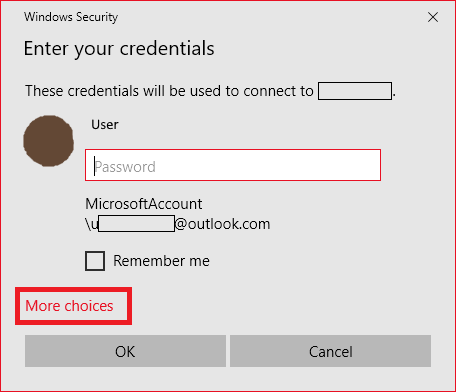
When you have set up your connection, click connect. You will be asked to enter your credentials, and you will almost always want to pick “choose other account”. This will let you enter the login information for the remote client.
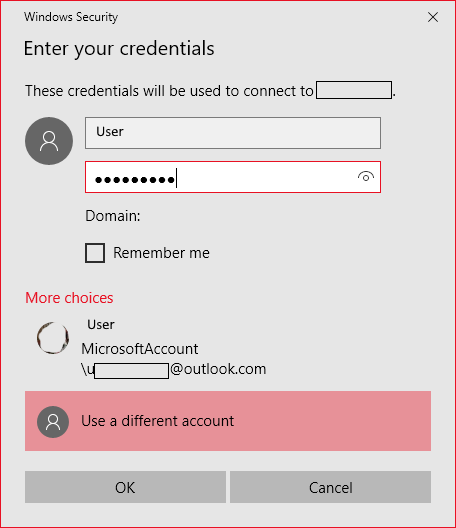
If I am using the same Microsoft account across both devices then I can go ahead and enter my password. Since I am not in this case, I go to “More choices”:
I can choose a different account and password:
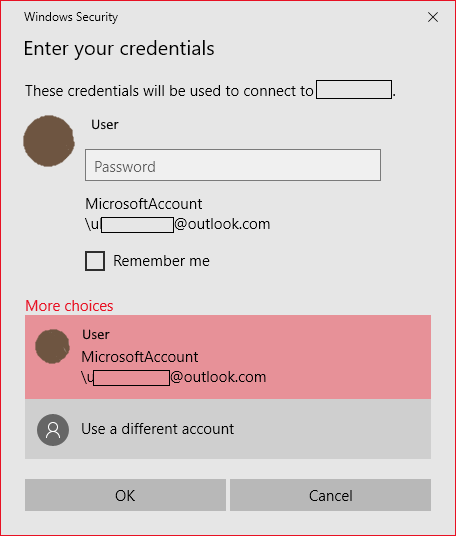
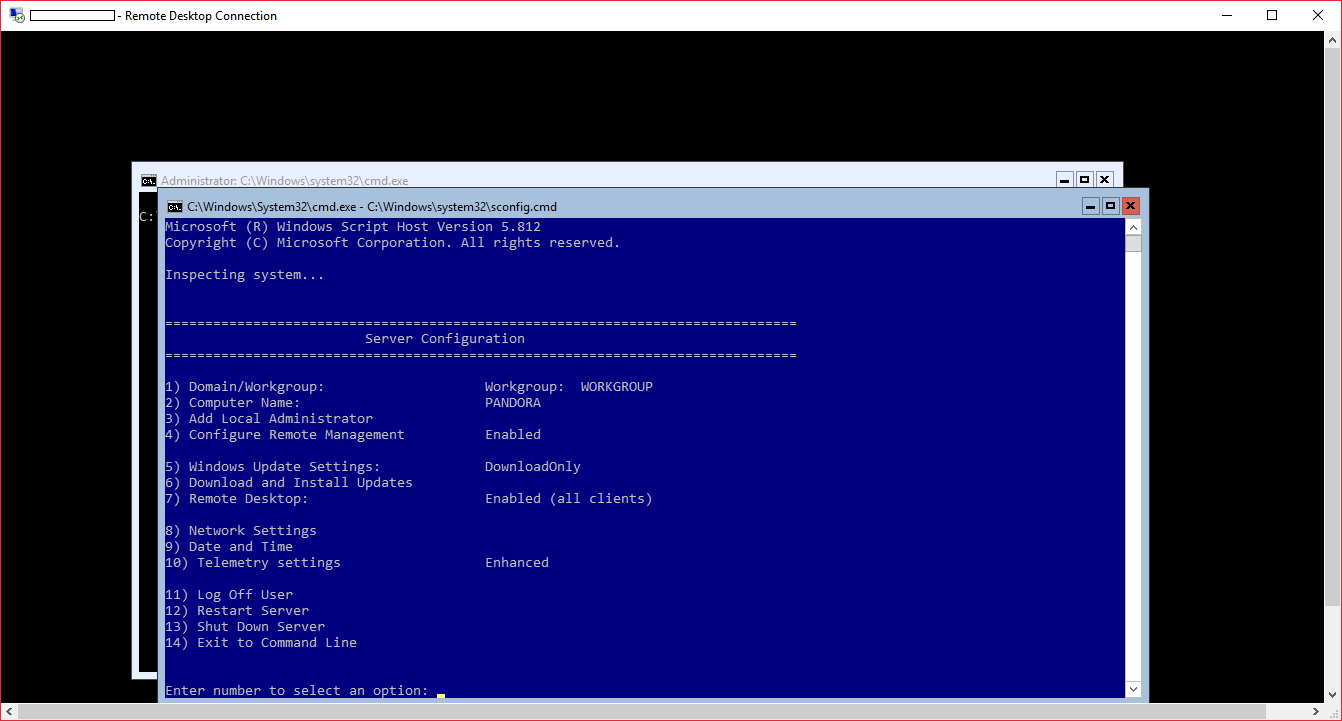
Using a different account will let me log into, for example, a server running Hyper-V:
If you like, you can check the box for “remember me” so you will not have to enter these credentials again. (Note: if the password on the host changes, you will have to sign in again.) This is very convenient but poses a security problem — a breach on your computer is a breach on every computer that you have ever connected to.
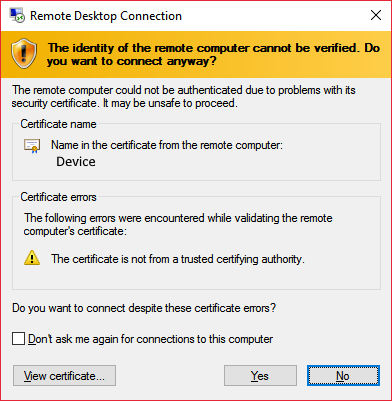
If this is the first time you are connecting to this computer, you will almost always see a security warning. The certificates used are self-published, which means that the client computer cannot verify them automatically. This is normal. Check that the computer name matches what you expect and hit “connect” if you would like to proceed.
You will then connect to your host machine. This will look exactly like you are logging in as though you were right in front of the remote machine. (Note: if someone else is using the computer, starting the remote connection will boot them off.)
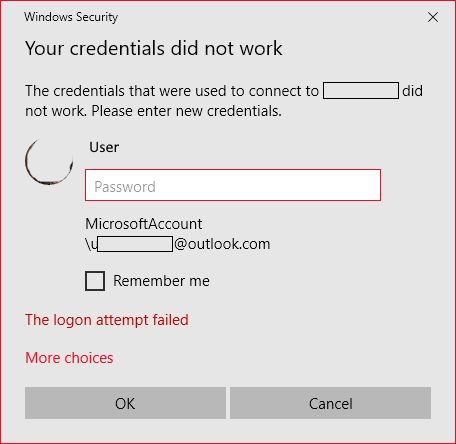
If you entered the wrong credentials, you will get an error message as shown below. Double-check your username and password and try again.
You can also use your phone to connect to remote desktop hosts:
https://play.google.com/store/apps/details?id=com.microsoft.rdc.android&hl=en
https://itunes.apple.com/ca/app/microsoft-remote-desktop/id715768417?mt=12